How To Install a Ceiling Fan
First things first; you don’t have to be some expert technician to install a ceiling fan for your home. Anyone with the capacity to follow instructions, and (though it isn’t a must) with a basic electrical knowledge can effectively and successfully accomplish this task. It is a job that will only take a few hours, so it’s ideal for completing on a weekend. Tools that you will need are a hammer, screwdriver set (it’s best to be prepared to deal with any kind of screws you come across), needle-nose pliers, tape measure, wrench set, wire stripper/cutter, circuit tester/ multimeter, and a refreshment of your choice.
Installing a ceiling fan will be easier if; the room you intend to install it has an existing fan fixture, and or the space above it can be accessed from the attic. If none of these preferences is true in your case, then you may have a little more work to do to be successful. I never said that it will be a piece of cake, but it is definitely doable. Let’s begin.
Start by confirming the correct size of the fan for the room you want to install it. The bigger the room, the larger the fan you will need. Determine the room size by measuring the longest wall (hint – tape measure). If the wall is below 12ft, the suitable fan will be 36″ in diameter. If it’s from 12ft to 15ft, a 42″ fan will be required. Finally, if your wall falls above 15ft long, then you will have to go for the 52″ fan.
Replacing a pre-existing fixture will require you cut off all power to the circuit that powers the lights and their respective switches. Use the circuit tester to check that no power is still present before you touch any electrical wiring. Detach the fixture wires, followed by the central mounting nut, and get rid of any screws that held the old fixture. Next, you want to check whether the electrical box is safely held to a support bracket or ceiling joist. If the ceiling box is covered by drywall or alternative material, this is where having an accessible attic will come in handy. You will have to access the joists from the attic to check it and add a support brace if necessary. Fans can be as heavy as 50pounds, so a sturdy mount will be necessary to prevent any accidents.
Step 1: The Support Brace
With access to space above the ceiling, you can create and install a customized support brace with a 2 x 4 piece of wood nailed to the ceiling joists on either side of the position of the box. If you can’t access the space above the ceiling, you will have to install an expanding metal brace from beneath to reinforce the fan.
Step 2: The Fan’s Mounting Bracket
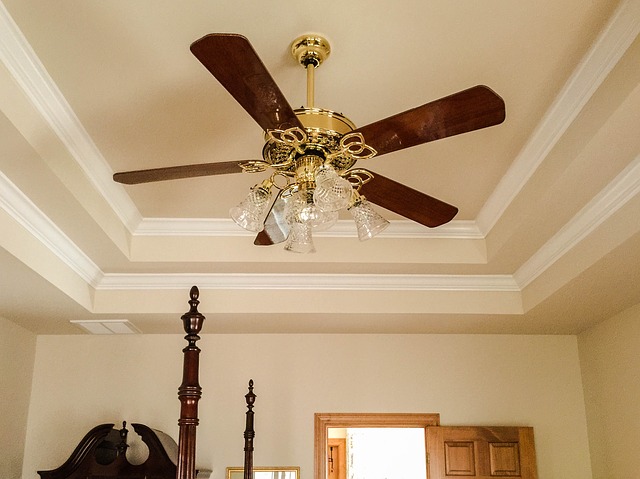
Ceiling fans typically come with a mounting bracket; in the event yours did not, it is possible to purchase one separately. Considering that you do have the mounting bracket, attach it to the ceiling box according to the manufacturer’s instructions. Avoid mounting the fan too close to the ceiling because often this restricts air circulation; preferably, use any extension rod available.
Step 3: The Fan’s Motor Wiring
By placing the swivel ball into the bracket, attach the fan’s motor to the ceiling. Next, affix the wires of the fan’s motor to the house wiring. Normally, you will have to connect black wires to black (hot) and the white ones (neutral) to each other. Consider the manufacturer’s wiring instructions. Ensure all connections are secured by using wire nuts.
Step 4: The Fan’s Blades
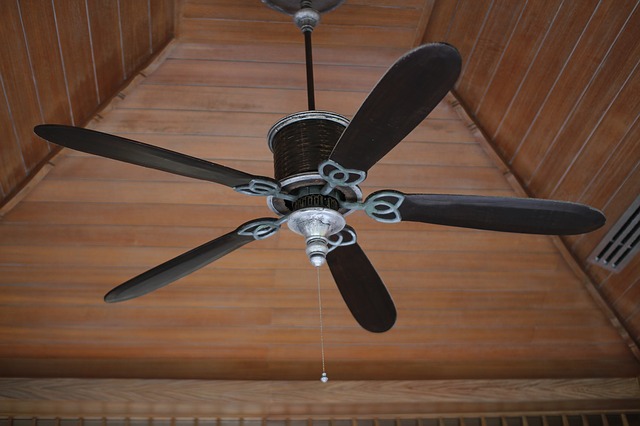
Now, attach the fan’s canopy that conceals the mounting bracket and the ceiling box. Place a blade mounting bracket on all fan blades, and connect them to the bezel that rotates beneath the fan’s motor. Ensure that all mounting screws are tight because if not, the fan will wobble while spinning. This can be scary to look at; if it won’t become unstable and hurt someone. We don’t want that.
Step 5: The Switch and Refreshment
Finally, prior to installing the fan’s switch, check the current switch’s wiring with a circuit tester to ascertain that there is no power. Now install the switch following the manufacturer’s instructions. Restore power, and check that everything is functioning as intended. If all went well, it is time to reward yourself with the refreshment you picked and appreciate your newly installed, and fully functional ceiling fan.
We hope this article has helped you understand how to install a ceiling fan. If you have any questions please contact us today.
Related Articles:
2 thoughts on “Installing Ceiling Fan”