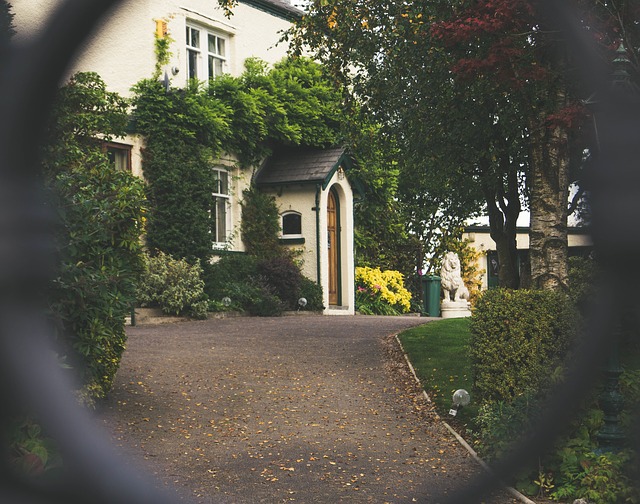
Beautiful Driveway
Your driveway is a vital investment in your home. To protect and beautify your driveway for a long time, you should shield it from natural elements including ultraviolet oxidization and moisture which damages your driveway. However, with that said it is recommended that you wait 9 months to a year before adding a sealcoat to your newly paved asphalt driveway. By adding the sealcoat you will increase the lifespan of your paved area, by protecting it from elements, and spills like gas, oil, and other fluids from vehicles. Driveway sealer is composed of a coal-tar emulsion, sometimes fortified with rubber or silica sand for increased durability.
Article Sponsored By Asphalt Paving Arlington
Before applying the sealer check the weather forecast to ensure no rainy days. You may need two to three days of sunny and dry weather for the sealer to set and dry properly.
Here are the steps you need to follow to ensure you sealcoat your driveway properly;
Clean The Driveway
Use a sweeping brush to sweep leaves and any dirt debris on the driveway. Trim the shrubs and ensure that all weeds between cracks are plucked. Use a spray bottle with bleach to spray any moss and scrap the dirt on the surface of the driveway. The driveway needs to be dry and clean before patching cracks with crack fillers for a long-lasting treatment.
Patch All The Holes and Cracks
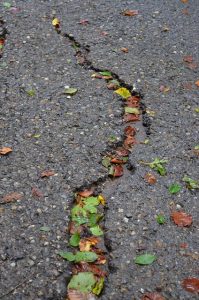 You should use crack filler for the cracks on your driver and ensure it dries for approximately 6 hours. For the bigger holes repairs should be done a week prior application of the seal coat. For optimum results you should, therefore, make all the necessary repairs on your driveway and ensuring they are completely dry for the application of sealant coat.
Mixing the Sealant and Re-Cleaning The Driveway
Go ahead and tip all the sealant buckets downwards to enable the mixing of the sealant. Prior to applying the sealant you should clean the driveway again to remove any dirt from leaves and the repairing process
Sealing The Edge
Use a paintbrush to seal the edges of your driveway with precision as it gives it a more neat look. You should start the painting at the beginning of your driveway towards the end.
Pour Sealant Along The Driveway
You should plan ahead and place the sealant buckets few square feet apart to avoid moving back and forth to pick them and stepping on the worked areas. Pour a line of the sealant on the driveway and using a squeegee to smoothen it out to ensure even application of the sealant. You can use a squeegee to pull and compress the sealant instead of the paintbrush for the driveway but ensure to manually paint in the edges to the driveway.
You should let the sealant dry for a day.
Applying The Second Coat
Looking at your driveway, you might see that some parts could use another coat. This is more likely if it is an older driveway. Applying the second layer creates a seal that is strong enough to protect the driveway surface. The second coat should be applied the same way the first coat was applied. You should again leave the sealant dry for a day before walking or driving on the driveway. Following this simple steps will ensure that your work is made easier and you have a beautiful driveway protected from any harm.
Thank you for visiting our site, and for reading our articles. We hop you find these DIY instructions helpful. If you have any questions please do contact us, or if you have any tips you can share, please share them here. If we use your tip on our site, we be sure to give you full credit from our site. We also ask that you pay a visit to our gracious sponsor, Asphalt Paving Arlington – Asphalt Parking Lot Contractor
Other Articles You May Enjoy: